Thursday, July 17, 2008

Naruto Layouts

PLEASE READ THIS FIRST! Below are links to the backgrounds I used to make myspace layouts. (IMPORTANT NOTE! The majority of these background images were not made by me. I only did the HTML coding for the layouts.) Just click the link ( for example: Naruto 1) and it will show you a background pic. If you like that pic, click the link beside it that says "CLICK TO GET THE CODE". Then copy and paste the code in your "about me" section. If the layout doesn't show up on your page right, then you probably need to delete ALL of your old layout code. Finally, please don't link to these pics. If you do, you'll use up all my bandwidth and then none of us will have any layouts. Also all of these layouts come with a custom contact box.

Naruto 1 (Naruto & Sasuke)----------CLICK TO GET THE CODE
Naruto 2 (Naruto)----------CLICK TO GET THE CODE
Naruto 3 (Naruto)----------CLICK TO GET THE CODE
Naruto 4 (Kakashi)----------CLICK TO GET THE CODE
Naruto 5 (Itachi)----------CLICK TO GET THE CODE
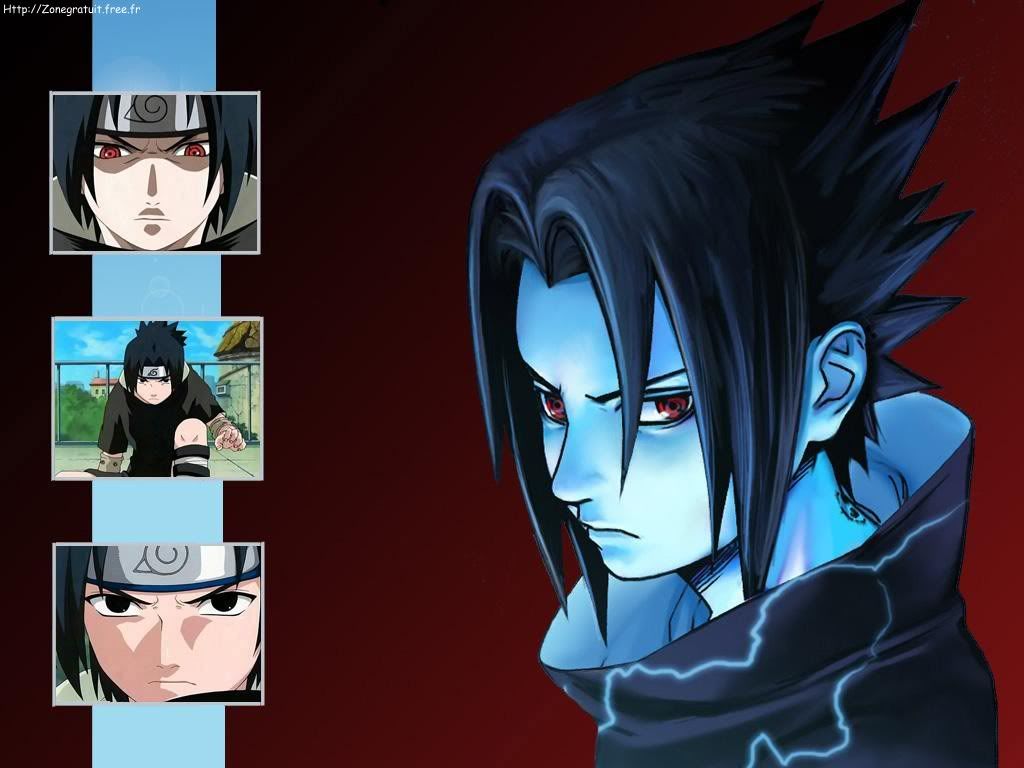
Naruto 6 (Sasuke)----------CLICK TO GET THE CODE
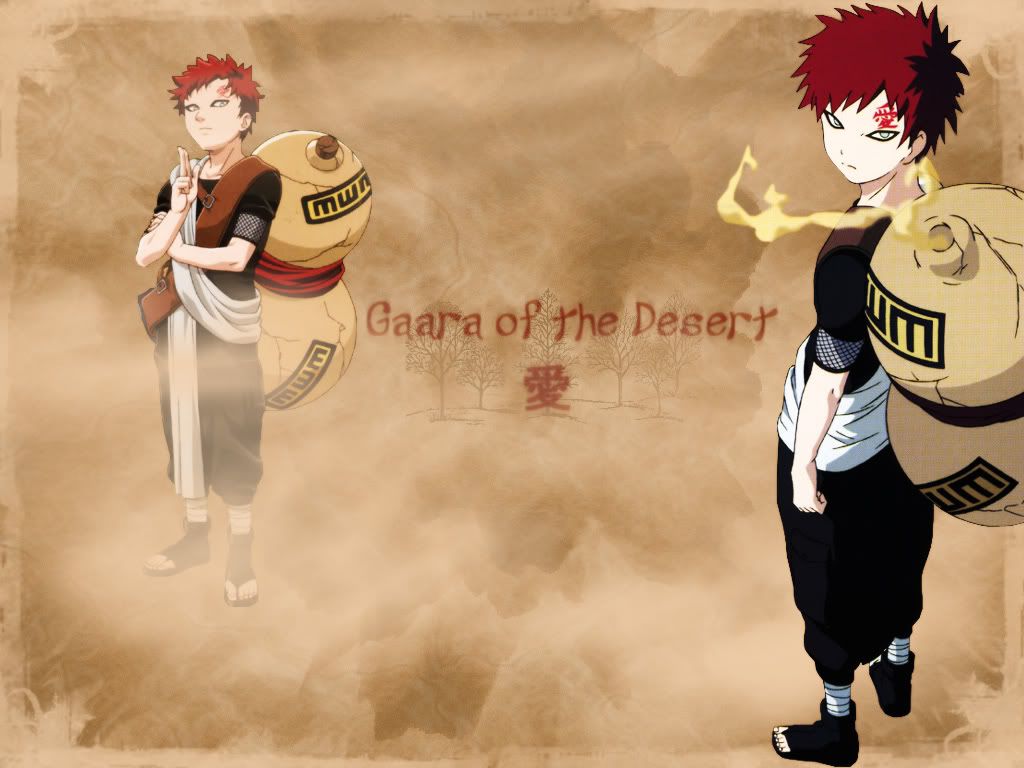
Naruto 7 (Gaara)----------CLICK TO GET THE CODE
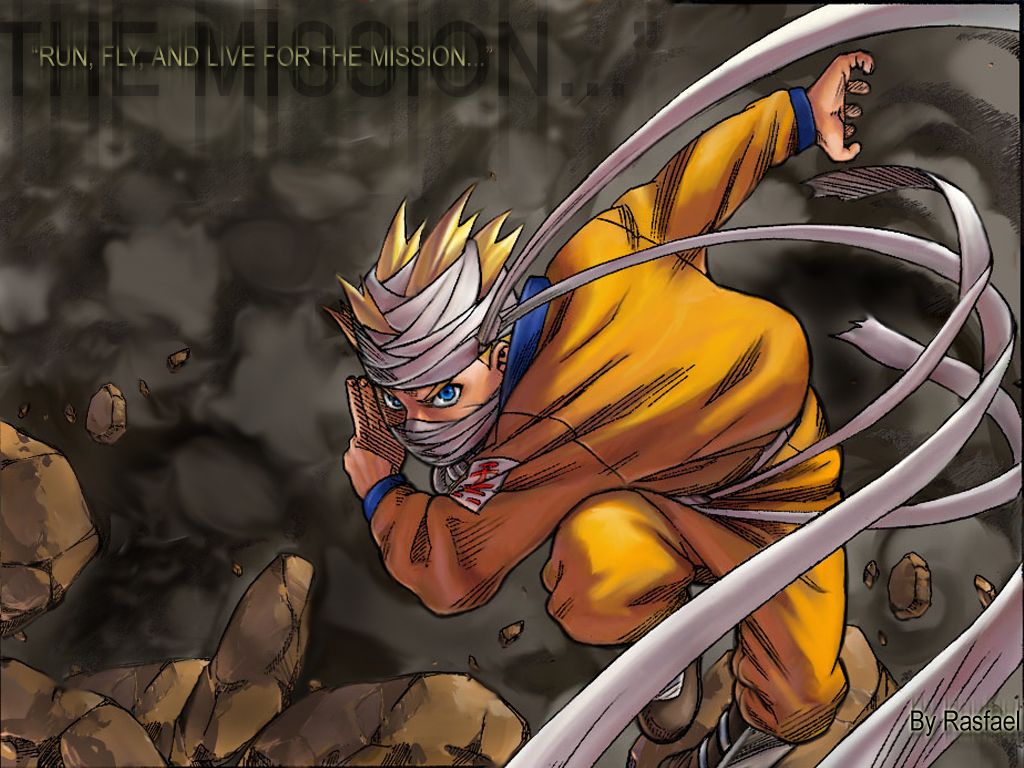
Naruto 8 (Naruto)----------CLICK TO GET THE CODE
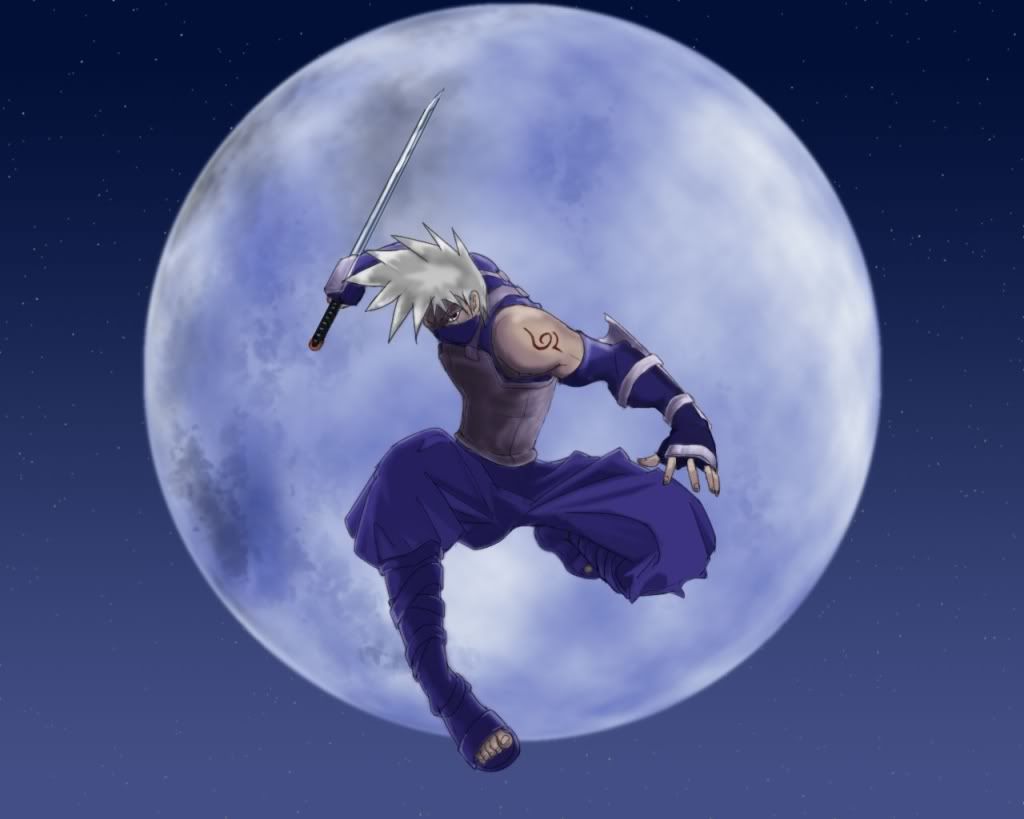
Naruto 9 (Kakashi)----------CLICK TO GET THE CODE
Naruto 10 (Sasuke)----------CLICK TO GET THE CODE
Naruto 11 (Neji)----------CLICK TO GET THE CODE
Naruto 12 (Sakura)----------CLICK TO GET THE CODE
Naruto 13 (Zabuza & Haku)----------CLICK TO GET THE CODE
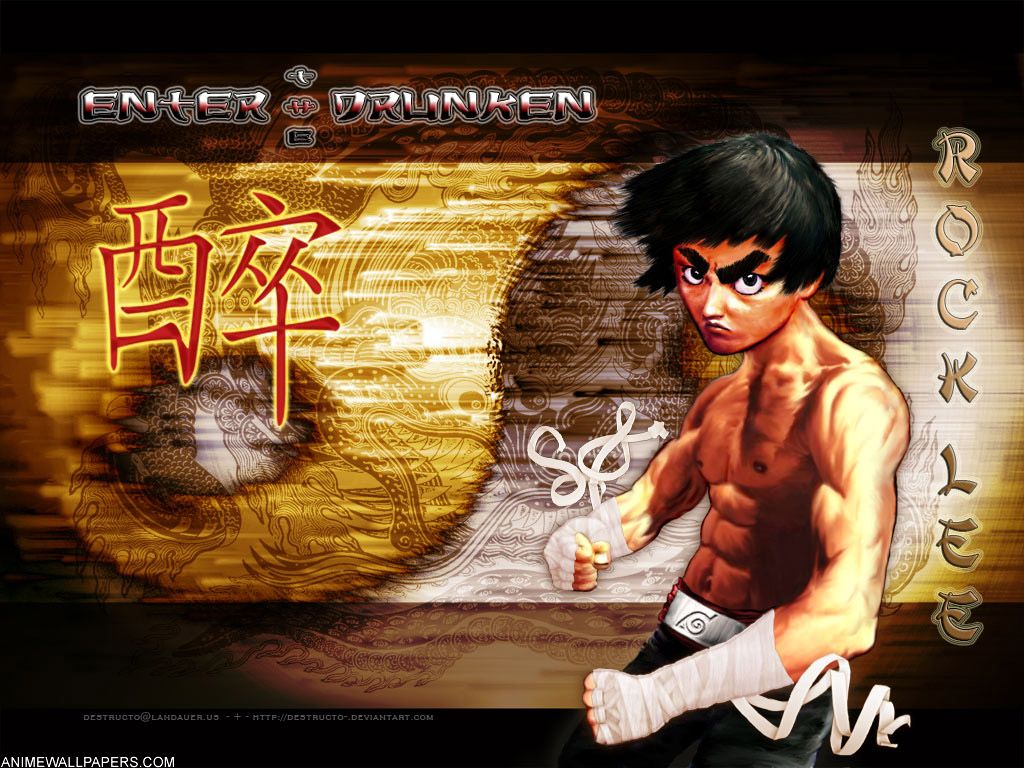
Naruto 14 (Rock Lee)----------CLICK TO GET THE CODE
Naruto 15 (Shikamaru)----------CLICK TO GET THE CODE
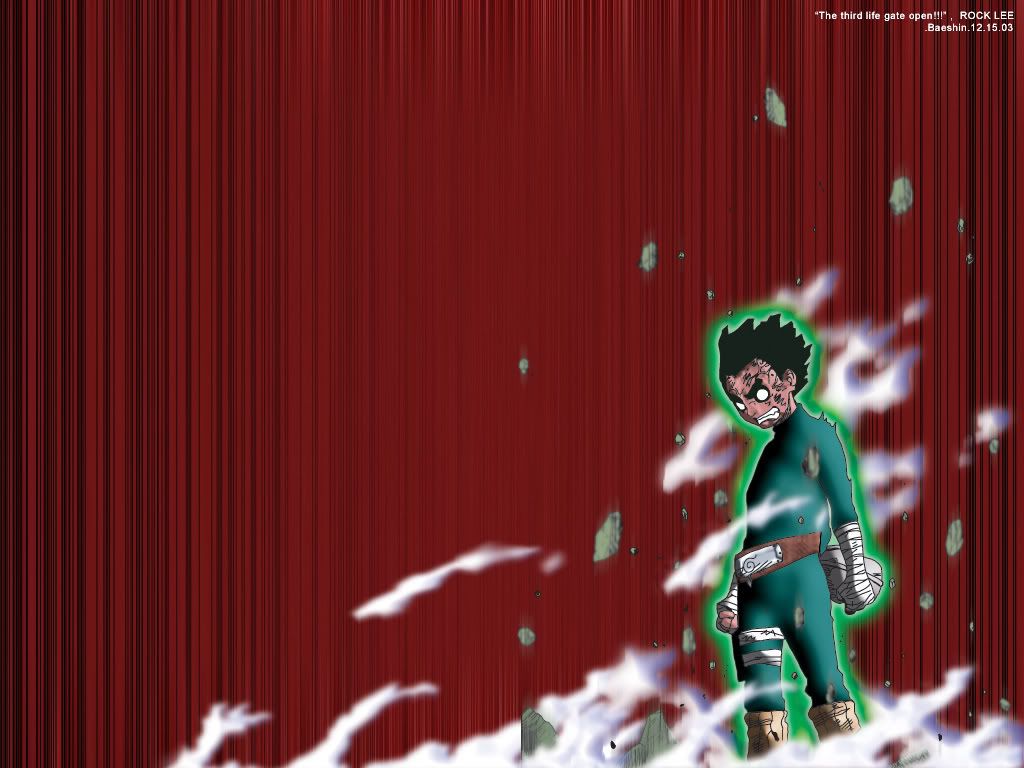
Naruto 16 (Rock Lee)----------CLICK TO GET THE CODE
Naruto 17 (Naruto)----------CLICK TO GET THE CODE
Naruto 18 (Kiba)----------CLICK TO GET THE CODE
Naruto 19 (Gaara)----------CLICK TO GET THE CODE
Naruto 20 (Itachi)----------CLICK TO GET THE CODE
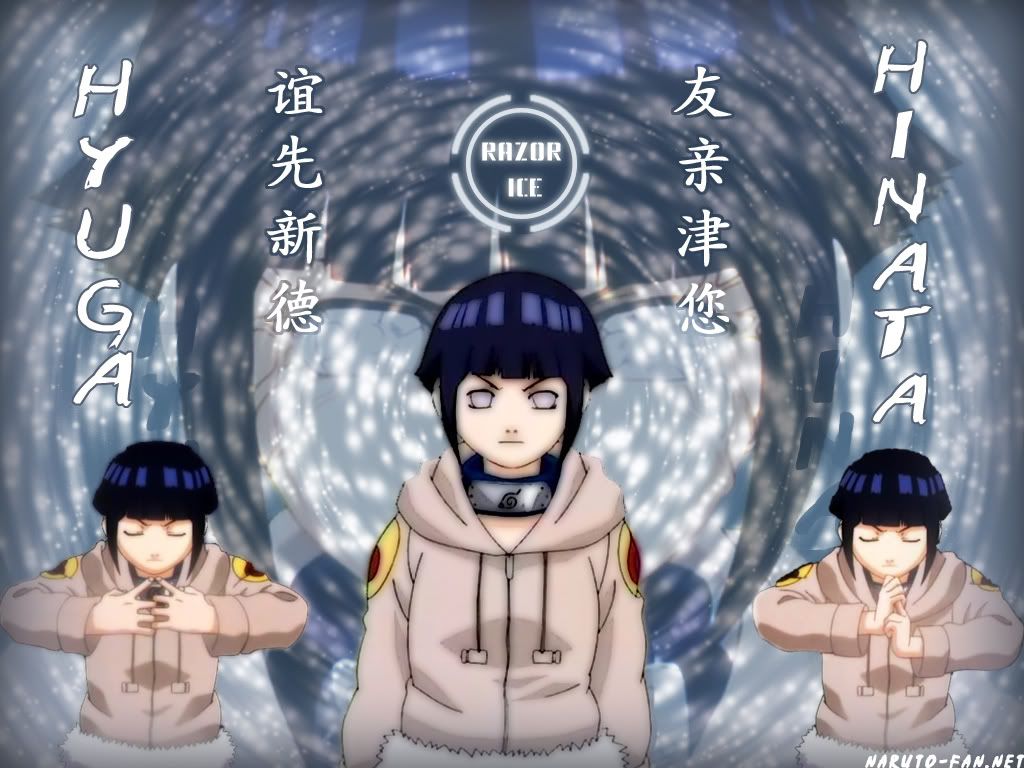
Naruto 21 (Hinata)----------CLICK TO GET THE CODE
Naruto 22 (Sasuke)----------CLICK TO GET THE CODE
Naruto 23 (Temari)----------CLICK TO GET THE CODE
Naruto 24 (Naruto)----------CLICK TO GET THE CODE NEW!
Naruto 25 (Sasuke)----------CLICK TO GET THE CODE NEW!
Naruto 26 (Yondaime)----------CLICK TO GET THE CODE NEW!
Naruto 27 (Jiraiya)----------CLICK TO GET THE CODE NEW!
Naruto 28 (Orochimaru)----------CLICK TO GET THE CODE NEW!
Naruto 29 (Suigetsu)----------CLICK TO GET THE CODE NEW!
Naruto 30 (Obito)----------CLICK TO GET THE CODE NEW!
Naruto 31 (Pein)----------CLICK TO GET THE CODE NEW!
Naruto 32 (Itachi)----------CLICK TO GET THE CODE NEW!
Naruto 33 (Hidan)----------CLICK TO GET THE CODE NEW!
Naruto 34 (Deidara)----------CLICK TO GET THE CODE NEW!


IF YOU WANT TO SUPPORT MY SITE BY ADDING A BANNER TO YOUR PAGE THEN COPY THE FOLLOWING CODE AND PUT IT ON YOUR PAGE. THANKS!


Friday, June 6, 2008

Animating pics

First of all, you cannot make animations in PAINT.NET. You have to use a seperate program along with PAINT.NET to do it. That program is called UnFREEz.


When making an animation you need frames. In PAINT.NET you can change you pictures with colors and effects and save them. Let's say that everytime you save your pic after changing it, it is a frame. Using UnFREEz you can animate those frames. Before using the pics in UnFREEz, be sure to flatten your images and save them a a .gif file type.


HERE is a well done PANT.NET forumer tutorial on animating with PAINT.NET.


In this tutorial I am animating the outline. The first steps are in PAINT.NET. This is a continuation of my adding a background and adding an outline tutorials. Starting out I have 3 layers. A character, an outline, and a background. In this tutorial I will be animating the outline layer.


1. First, go to effects and pick glow and use it on its default setting. Be sure you have your outline layer highlighted in your layer box when you do this.


EXAMPLE


2. Now flatten the image.

3. Now go to file, then to save as. In the save window look down where it says "save as type" change that to .gif. Save the file as whatever1.gif.


EXAMPLE


4. Now go to your history box and undo flatten and undo the glow effect.


EXAMPLE

5. In your layer box, highlight your outline layer and use glow effect again except this time increase the radius to about 15.


EXAMPLE


6. Now flatten the image and save as whatever2.gif.

7. Now undo flatten and the glow again and highlight your outline layer and use glow effect again except this time make the radius 25.


EXAMPLE

8. Now flatten and save the image as whatever3.gif. Now its time to use UnFreez.

9. Open the folder you saved the 3 .gif files in.


10. Open the UnFREEz program.


11. Drag the files from the folder to UnFreez.


EXAMPLE

12. I usually do gif1,gif2,gif3,gif3,gif2,gif1 but you can just do gif1,gif2,gif3 if you want. Now be sure to put a number in the frame delay box. I usually put 10. Now click the "make animated gif" button and type in a filename and you're done.


EXAMPLE


FINISHED PIC


NOTES: This technique can be used with many of the effects on paint.net. You can use blur and distort effects on background layers, text, and characters. (Or all 3 if you want) and then just increase the effect with each .gif file you make. Then animate.

Adding an outline to a pic

This is a continuation of my adding a background tutorial. As you can see in the images, I am starting out with 2 layers. One is the background the other is a character pic that has no background.

1. In your layer box, hit new layer and fill the new layer with the color you want your outline to be with the paint bucket tool. This is especially good to use if you have a pic that hasn't been cut out well. If you pick the right color you can hide a few flaws with an outline. I'm going to use yellow for this pic.

EXAMPLE


2. Now switch to your pic image layer and use you magic wand to highlight the layer around it.


EXAMPLE


3. Now that you have the outline of your image, click on your color layer in the layer box and hit delete on your keyboard. This will give you a colored outline of your character.


EXAMPLE

4. On the colored outline layer go up to effect then to blurs and pick gaussian blur and use it at 5 or 10 or somewhere in between.


EXAMPLE

5. Now move you charcter layer on top of your outline layer.


6. Click your outline layer in your layers box. Now click copy layer until the outline is the desired thickness.


EXAMPLE


7. Flatten the image.


NOTES: There is a plug-in that outlines objects and text. I like my method better. But if you want it, get it HERE.

Adding a background to your pics

In this example I use a pic with a solid color background so it will be easy to see what to do.


1. First I just used the magic wand to highlight the area around the character.


EXAMPLE

2. Then I hit delete on my keyboard.


EXAMPLE


3. Now to add a background, click the add a new layer button in the layer box. Then I highlighted the new layer and went up to effects and picked clouds. The clouds effect will make a cloudy type effect with whatever 2 colors are picked in your color box.


EXAMPLE

4. Now slide the slider bars all the way to the right creating a cool rough surface kind of effect.


EXAMPLE

5. Now use the zoom blur effect.


EXAMPLE


6. Flatten the image.

NOTES: You can put any background you want behind a character. You don't have to use the cloud effect. There are alot of different renders and things you can put on the layer underneath you character. Also try using different effects on the cloud layer for some different stuff. I like using the film effect on the cloud layer.


Also, you can go up to layers on your toolbar, then down to import from file and upload any pic you have saved on your computer as a background. That's how I get backgrounds of planets and stuff in my pics.


If you have a pic that already has a background, but you want to cut out the character and put it on a different background, try THIS tutorial.


Changing colors to white

1. Copy the character layer.

2. Then on the top layer go up to effects and use pencil sketch.


EXAMPLE

3. Now create another copy of your original and use black and white.


EXAMPLE

4. Then use brightness/contrast to lighten up the image even more.


EXAMPLE


5. Now with the pencil sketch image on top of the lightened black and white image select the pencil sketch image. Now go to the properties button of your layer box and change the mode to multiply and click OK.


EXAMPLE

6. Now move you original on top and use the magic wand or the eraser to cut out the colors you want to change to white.


EXAMPLE


7. Flatten the layers when you got everything you want white and you're done.


EXAMPLE


Changing colors to black

1. Make a copy of your original layer then go up to adjustments and use black and white.


EXAMPLE


(If that's not dark enough for you, then go up to adjustments and use brightness/contrast to darken it up. Be sure you don't make it so dark you can't see the details or it will look bad.)


EXAMPLE

2. Put the original layer on top, in this case I'm turning goku's undershirt, boots, and wristbands black. And use the wand or the eraser to delete all the color you are replacing.


EXAMPLE

3. Now flatten the layers and you're done.


Wednesday, June 4, 2008

Changing colors in pics method 3

Here is a quick and easy method for changing colors in bright well colored pics. It will require the conditional hue/saturation plug-in. Get it HERE. Learn how to install plug-ins HERE.


1. Open the image


2. Go up to adjustments then go down to conditional hue/saturation.


3. Adjust the lines in the color wheel so that only the color you want to change is effected.


EXAMPLE


4. Adjust the hue action slider to change the color.


5. Adjust the saturation slider if you want to dim or get rid of the color.


6. Click OK when you are finished.


7. You may want to play with all the settings here.


(This can be a really quick way to do some easy edits. Also, when you are done with a pic edit, always make sure the you flatten all you layers. And be sure to save your file as a .png or .jpg file type or sites like photobucket and myspace may not let you upload your pic)

Changing colors in pics method 2

Now I'm going to show you an alternate way to do the coloring. Sometimes the hue saturation doesn't quite get the color you want so this method will help you choose the exact color you want.


1. After loading your image, click the new layer button on the layers window. Now go to the color window and click the color you want. Once you have that color, then go to the tools and select the paint bucket.


2. Now fill the new layer with the color you picked.


EXAMPLE

3. Now copy your picture layer.


4. Now make the picture layer black and white.


EXAMPLE

5. Now with the color layer on top of the black and white layer, go to the layer box and click properties. Click the blend layer mode drop box and pick overlay.


EXAMPLE

6. Now your pic should be tinted the color you picked.


EXAMPLE


7. Now move your original layer to the top, and use the magic wand or the eraser to cut out all the color you don't want. In the example I'm changing the hair color.


EXAMPLE


8. Flatten the layers.


(When you are done with a pic edit, always make sure the you flatten all you layers. And be sure to save your file as a .png or .jpg file type or sites like photobucket and myspace may not let you upload your pic)


Changing colors in pics method 1

1. Ok first you need to load your image.


2. Then make a copy of the image by using the copy layer button in your layer box.


3. Then make the top copy of the pic invisible by unchecking the box next to it.


EXAMPLE


4. Then go up to adjustments and go to hue/saturation and make the image the color you want.


EXAMPLE


5. Now that you have the color you want, make the top layer visible again.


EXAMPLE

6. Now go over to your tools on the left and select the magic wand. You can adjust how much area the wand will select by adjusting the tolerance bar on the top toolbar.


7. Now pick the color you want to cut out. In this case I'm cutting out the orange in Goku's outfit so the bluegreen will show through. Just highlight the area with the wand and hit the delete button on your keyboard.


EXAMPLE

(If you miss some color or just can't get the wand to work, use the eraser on the top layer. You can adjust the size of the eraser in your top toolbar.)


EXAMPLE

8. Now flatten the 2 layers.


EXAMPLE


(Also, when you are done with a pic edit, always make sure the you flatten all you layers. And be sure to save your file as a .png or .jpg file type or sites like photobucket and myspace may not let you upload your pic)

Glowing Eyes Tutorial

Making glowing white eyes:


1. Using the paint brush, color in the pupils white.

EXAMPLE

2. Create a new layer.


3. Using the paint bucket, color the new layer white.


4. On the character layer use the magic wand to select the eye areas.

EXAMPLE

5. Switch to the white layer and hit Ctrl + I on your keyboard then hit delete.

EXAMPLE

6. On the layer with just the white eyes cut out use gaussian blur at 10.

EXAMPLE

7. Make sure the white eyes layer is on top of the character layer. Copy the white eyes layer until it looks right.

EXAMPLE

8. Flatten the image.


Making glowing color eyes:


1. Follow steps 1-7 from above.


2. Create a new layer.

3. Using the paint bucket, color the new layer whatever color you want.

4. On the character layer use the magic wand to select the eye areas.


5. Go to the color layer and hit ctrl + I and then delete on your keyboard. You should have a color cut out of the eyes.


EXAMPLE


6. Use gaussian blur on the color layer. Use more of the effect than you did on the white eyes layer.


EXAMPLE


7. Make sure the white eyes layer is above the character layer and the color layer is above the white eyes layer. Go to the layers box and click properties and change the mode to additive.


EXAMPLE


8. Flatten the image.


Tuesday, June 3, 2008

MISCELLANEOUS LAYOUTS

PLEASE READ THIS FIRST! Below are links to the backgrounds I used to make myspace layouts. (IMPORTANT NOTE! The majority of these background images were not made by me. I only did the HTML coding for the layouts.) Just click the link ( for example: Anime Girl 1) and it will show you a background pic. If you like that pic, click the link beside it that says "CLICK TO GET THE CODE". Then copy and paste the code in your "about me" section. If the layout doesn't show up on your page right, then you probably need to delete ALL of your old layout code. Finally, please don't link to these pics. If you do, you'll use up all my bandwidth and then none of us will have any layouts. Also all of these layouts come with a custom contact box and banner.

Spiderman 3----------CLICK TO GET THE CODE
Ben 10----------CLICK TO GET THE CODE
Venture Bros 1----------CLICK TO GET THE CODE
Anime Girl 1----------CLICK TO GET THE CODE
Anime Girl 2----------CLICK TO GET THE CODE
Anime Girl 3----------CLICK TO GET THE CODE
Spawn 1----------CLICK TO GET THE CODE
Bruce Lee 1----------CLICK TO GET THE CODE


IF YOU WANT TO SUPPORT MY SITE BY ADDING A BANNER TO YOUR PAGE THEN COPY THE FOLLOWING CODE AND PUT IT ON YOUR PAGE. THANKS!


VIDEO GAME LAYOUTS

PLEASE READ THIS FIRST! Below are links to the backgrounds I used to make myspace layouts. (IMPORTANT NOTE! The majority of these background images were not made by me. I only did the HTML coding for the layouts.) Just click the link ( for example: Sonic 1) and it will show you a background pic. If you like that pic, click the link beside it that says "CLICK TO GET THE CODE". Then copy and paste the code in your "about me" section. If the layout doesn't show up on your page right, then you probably need to delete ALL of your old layout code. Finally, please don't link to these pics. If you do, you'll use up all my bandwidth and then none of us will have any layouts. Also all of these layouts come with a custom contact box and banner.

Shadow the Hedgehog 1----------CLICK TO GET THE CODE
Shadow the Hedgehog 2----------CLICK TO GET THE CODE

Sonic the Hedgehog 1----------CLICK TO GET THE CODE

Street Fighter 1 (Ken)----------CLICK TO GET THE CODE
Street Fighter 2 (Akuma)----------CLICK TO GET THE CODE
Street Fighter 3 (Ryu)----------CLICK TO GET THE CODE
Street Fighter 4 (Fei Long)----------CLICK TO GET THE CODE
Street Fighter 5 (Fei Long)----------CLICK TO GET THE CODE

World of Warcraft----------CLICK TO GET THE CODE

Final Fantasy VII 1 (Cloud)----------CLICK TO GET THE CODE
Final Fantasy VII 2 (Vincent)----------CLICK TO GET THE CODE
Final Fantasy VII 3 (Cloud)----------CLICK TO GET THE CODENEW!
Final Fantasy VII 4 (Sephiroth)----------CLICK TO GET THE CODENEW!
Final Fantasy VII 5 (Sephiroth)----------CLICK TO GET THE CODENEW!

Final Fantasy X 1 (Auron)----------CLICK TO GET THE CODE
Final Fantasy X 2 (Yuna)----------CLICK TO GET THE CODE

Tekken 1 (Devil Jin)----------CLICK TO GET THE CODE

Shinobi 1----------CLICK TO GET THE CODE

God of War 1----------CLICK TO GET THE CODE

Devil May Cry 1----------CLICK TO GET THE CODE
Devil May Cry 2----------CLICK TO GET THE CODE

Kingdom Hearts 1----------CLICK TO GET THE CODE


IF YOU WANT TO SUPPORT MY SITE BY ADDING A BANNER TO YOUR PAGE THEN COPY THE FOLLOWING CODE AND PUT IT ON YOUR PAGE. THANKS!


ANIME LAYOUTS

PLEASE READ THIS FIRST! Below are links to the backgrounds I used to make myspace layouts. (IMPORTANT NOTE! The majority of these background images were not made by me. I only did the HTML coding for the layouts.) Just click the link ( for example: Inuyasha 1) and it will show you a background pic. If you like that pic, click the link beside it that says "CLICK TO GET THE CODE". Then copy and paste the code in your "about me" section. If the layout doesn't show up on your page right, then you probably need to delete ALL of your old layout code. Finally, please don't link to these pics. If you do, you'll use up all my bandwidth and then none of us will have any layouts. Also all of these layouts come with a custom contact box.

Full Metal Alchemist 1----------CLICK TO GET THE CODE
Full Metal Alchemist 2----------CLICK TO GET THE CODE
Full Metal Alchemist 3----------CLICK TO GET THE CODE
Full Metal Alchemist 4----------CLICK TO GET THE CODE
Full Metal Alchemist 5----------CLICK TO GET THE CODE
Full Metal Alchemist 6----------CLICK TO GET THE CODE
Full Metal Alchemist 7----------CLICK TO GET THE CODE

Inuyasha 1----------CLICK TO GET THE CODE
Inuyasha 2----------CLICK TO GET THE CODE
Inuyasha 3----------CLICK TO GET THE CODE
Inuyasha 4----------CLICK TO GET THE CODE
Inuyasha 5----------CLICK TO GET THE CODE
Inuyasha 6----------CLICK TO GET THE CODE


Bleach 1----------CLICK TO GET THE CODE
Bleach 2----------CLICK TO GET THE CODE
Bleach 3----------CLICK TO GET THE CODE
Bleach 4----------CLICK TO GET THE CODE
Bleach 5----------CLICK TO GET THE CODE
Bleach 6----------CLICK TO GET THE CODE
Bleach 7----------CLICK TO GET THE CODE NEW!
Bleach 8----------CLICK TO GET THE CODE NEW!

Death Note 1----------CLICK TO GET THE CODE
Death Note 2----------CLICK TO GET THE CODE
Death Note 3----------CLICK TO GET THE CODE
Death Note 4----------CLICK TO GET THE CODE
Death Note 5----------CLICK TO GET THE CODE
Death Note 6----------CLICK TO GET THE CODE
Death Note 7----------CLICK TO GET THE CODE
Death Note 8----------CLICK TO GET THE CODE
Death Note 9----------CLICK TO GET THE CODE
Death Note 10----------CLICK TO GET THE CODE


Baki 1----------CLICK TO GET THE CODE

Elfen Lied 1----------CLICK TO GET THE CODE
Elfen Lied 2----------CLICK TO GET THE CODE

Gundam 1----------CLICK TO GET THE CODE
Gundam 2----------CLICK TO GET THE CODE
Gundam 3----------CLICK TO GET THE CODE
Gundam 4----------CLICK TO GET THE CODE

Hellsing 1----------CLICK TO GET THE CODE

Kenshin 1 (Hajime Saitou)----------CLICK TO GET THE CODE
Kenshin 2 (Hajime Saitou)----------CLICK TO GET THE CODE
Kenshin 3 (Kenshin)----------CLICK TO GET THE CODE

One Piece 1----------CLICK TO GET THE CODE

Pokemon 1----------CLICK TO GET THE CODE
Pokemon 2----------CLICK TO GET THE CODE

Ragnarok 1----------CLICK TO GET THE CODE

Sailor Moon 1----------CLICK TO GET THE CODE

Samurai Champloo 1----------CLICK TO GET THE CODE

Tenchi Muyo 1----------CLICK TO GET THE CODE

Trigun 1----------CLICK TO GET THE CODE

Trinity Blood 1----------CLICK TO GET THE CODE

Yugi Oh! 1----------CLICK TO GET THE CODE
Yugi Oh! 2----------CLICK TO GET THE CODE
Yugi Oh! 3----------CLICK TO GET THE CODE

Zatch Bell 1 ----------CLICK TO GET THE CODE

Shaman King 1----------CLICK TO GET THE CODE

Gungrave 1----------CLICK TO GET THE CODE

Ghost in the Shell 1----------CLICK TO GET THE CODE

Vampire Hunter D 1----------CLICK TO GET THE CODE

Yu Yu Hakusho 1 (Yusuke)----------CLICK TO GET THE CODE
Yu Yu Hakusho 2 (Kuwabara)----------CLICK TO GET THE CODE
Yu Yu Hakusho 3 (Kurama)----------CLICK TO GET THE CODE
Yu Yu Hakusho 4 (Hiei)----------CLICK TO GET THE CODE

Saiyuki 1 (Cho Hakkai)----------CLICK TO GET THE CODE

Hajime No Ippo----------CLICK TO GET THE CODE

Ranma 1/2----------CLICK TO GET THE CODE

Blood+ 1----------CLICK TO GET THE CODE

Mixed Anime 1 (Shonen Jump)----------CLICK TO GET THE CODE
Mixed Anime 2 (Goku & Naruto)----------CLICK TO GET THE CODE
Mixed Anime 3 (Goku & Naruto)----------CLICK TO GET THE CODE
Mixed Anime 4(Goku & Naruto)----------CLICK TO GET THE CODE


IF YOU WANT TO SUPPORT MY SITE BY ADDING A BANNER TO YOUR PAGE THEN COPY THE FOLLOWING CODE AND PUT IT ON YOUR PAGE. THANKS!


Monday, June 2, 2008

DRAGONBALL Z LAYOUTS

PLEASE READ THIS FIRST! Below are links to the backgrounds I used to make myspace layouts. (IMPORTANT NOTE! The majority of these background images were not made by me. I only did the HTML coding for the layouts.) Just click the link ( for example: Goku 1) and it will show you a background pic. If you like that pic, click the link beside it that says "CLICK TO GET THE CODE". Then copy and paste the code in your "about me" section. If the layout doesn't show up on your page right, then you probably need to delete ALL of your old layout code. Finally, please don't link to these pics. If you do, you'll use up all my bandwidth and then none of us will have any layouts. Also all of these layouts come with a custom contact box and banner.


Goku 1----------CLICK TO GET THE CODE
Goku 2----------CLICK TO GET THE CODE
Goku 3----------CLICK TO GET THE CODE
Goku 4----------CLICK TO GET THE CODE
Goku 5----------CLICK TO GET THE CODE
Goku 6----------CLICK TO GET THE CODE
Goku 7----------CLICK TO GET THE CODE
Goku 8----------CLICK TO GET THE CODE
Goku 9----------CLICK TO GET THE CODE
Goku 10----------CLICK TO GET THE CODE
Goku 11----------CLICK TO GET THE CODE
Goku 12----------CLICK TO GET THE CODE
Goku 13----------CLICK TO GET THE CODE
Goku 14----------CLICK TO GET THE CODE
Goku 15----------CLICK TO GET THE CODE
Goku 16----------CLICK TO GET THE CODE
Goku 17----------CLICK TO GET THE CODE
Goku 18----------CLICK TO GET THE CODE
Goku 19----------CLICK TO GET THE CODE
Goku 20----------CLICK TO GET THE CODE
Goku 21----------CLICK TO GET THE CODE
Goku 22----------CLICK TO GET THE CODE
Goku 23----------CLICK TO GET THE CODE
Goku 24----------CLICK TO GET THE CODE
Goku 25----------CLICK TO GET THE CODE
Goku 26----------CLICK TO GET THE CODE
Goku 27----------CLICK TO GET THE CODE
Goku 28----------CLICK TO GET THE CODE
Goku 29----------CLICK TO GET THE CODE
Goku 30----------CLICK TO GET THE CODE
Goku 31----------CLICK TO GET THE CODE
Goku 32----------CLICK TO GET THE CODE
Goku 33----------CLICK TO GET THE CODE
Goku 34----------CLICK TO GET THE CODE
Goku 35----------CLICK TO GET THE CODE
Goku 36----------CLICK TO GET THE CODE
Goku 37----------CLICK TO GET THE CODE
Goku 38----------CLICK TO GET THE CODE
Goku 39----------CLICK TO GET THE CODE
Goku 40----------CLICK TO GET THE CODE
Goku 41----------CLICK TO GET THE CODE
Goku 42----------CLICK TO GET THE CODE
Goku 43----------CLICK TO GET THE CODE
Goku 44----------CLICK TO GET THE CODE
Goku 45----------CLICK TO GET THE CODE
Goku 46----------CLICK TO GET THE CODE NEW!
Goku 47----------CLICK TO GET THE CODE NEW!
Goku 48----------CLICK TO GET THE CODE NEW!

Goku Jr. 1----------CLICK TO GET THE CODE

Vegeta 1----------CLICK TO GET THE CODE
Vegeta 2----------CLICK TO GET THE CODE
Vegeta 3----------CLICK TO GET THE CODE
Vegeta 4----------CLICK TO GET THE CODE
Vegeta 5----------CLICK TO GET THE CODE
Vegeta 6----------CLICK TO GET THE CODE
Vegeta 7----------CLICK TO GET THE CODE
Vegeta 8----------CLICK TO GET THE CODE
Vegeta 9----------CLICK TO GET THE CODE
Vegeta 10----------CLICK TO GET THE CODE
Vegeta 11 ----------CLICK TO GET THE CODE
Vegeta 12----------CLICK TO GET THE CODE
Vegeta 13----------CLICK TO GET THE CODE
Vegeta 14----------CLICK TO GET THE CODE
Vegeta 15----------CLICK TO GET THE CODE
Vegeta 16----------CLICK TO GET THE CODE
Vegeta 17----------CLICK TO GET THE CODE
Vegeta 18----------CLICK TO GET THE CODE
Vegeta 19----------CLICK TO GET THE CODE
Vegeta 20----------CLICK TO GET THE CODE
Vegeta 21----------CLICK TO GET THE CODE
Vegeta 22----------CLICK TO GET THE CODE
Vegeta 23----------CLICK TO GET THE CODE
Vegeta 24----------CLICK TO GET THE CODE
Vegeta 25----------CLICK TO GET THE CODE
Vegeta 26----------CLICK TO GET THE CODE
Vegeta 27----------CLICK TO GET THE CODE
Vegeta 28----------CLICK TO GET THE CODE
Vegeta 29----------CLICK TO GET THE CODE NEW!
Vegeta 30----------CLICK TO GET THE CODE NEW!

Vegeta Jr 1----------CLICK TO GET THE CODE

Gohan 1----------CLICK TO GET THE CODE
Gohan 2----------CLICK TO GET THE CODE
Gohan 3----------CLICK TO GET THE CODE
Gohan 4----------CLICK TO GET THE CODE
Gohan 5----------CLICK TO GET THE CODE
Gohan 6----------CLICK TO GET THE CODE
Gohan 7----------CLICK TO GET THE CODE
Gohan 8----------CLICK TO GET THE CODE
Gohan 9----------CLICK TO GET THE CODE
Gohan 10----------CLICK TO GET THE CODE
Gohan 11----------CLICK TO GET THE CODE
Gohan 12----------CLICK TO GET THE CODE
Gohan 13----------CLICK TO GET THE CODE
Gohan 14----------CLICK TO GET THE CODE
Gohan 15----------CLICK TO GET THE CODE
Gohan 16----------CLICK TO GET THE CODE
Gohan 17----------CLICK TO GET THE CODE
Gohan 18----------CLICK TO GET THE CODE
Gohan 19----------CLICK TO GET THE CODE
Gohan 20----------CLICK TO GET THE CODE
Gohan 21----------CLICK TO GET THE CODE
Gohan 22----------CLICK TO GET THE CODE NEW!
Gohan 23----------CLICK TO GET THE CODE NEW!

Trunks 1----------CLICK TO GET THE CODE
Trunks 2----------CLICK TO GET THE CODE
Trunks 3----------CLICK TO GET THE CODE
Trunks 4----------CLICK TO GET THE CODE
Trunks 5----------CLICK TO GET THE CODE
Trunks 6----------CLICK TO GET THE CODE
Trunks 7----------CLICK TO GET THE CODE
Trunks 8----------CLICK TO GET THE CODE
Trunks 9----------CLICK TO GET THE CODE
Trunks 10----------CLICK TO GET THE CODE
Trunks 11----------CLICK TO GET THE CODE
Trunks 12----------CLICK TO GET THE CODE
Trunks 13----------CLICK TO GET THE CODE
Trunks 14----------CLICK TO GET THE CODE
Trunks 15----------CLICK TO GET THE CODE
Trunks 16----------CLICK TO GET THE CODE
Trunks 17----------CLICK TO GET THE CODE NEW!

Broly 1----------CLICK TO GET THE CODE
Broly 2----------CLICK TO GET THE CODE
Broly 3----------CLICK TO GET THE CODE
Broly 4----------CLICK TO GET THE CODE
Broly 5----------CLICK TO GET THE CODE
Broly 6----------CLICK TO GET THE CODE
Broly 7----------CLICK TO GET THE CODE
Broly 8----------CLICK TO GET THE CODE
Broly 9----------CLICK TO GET THE CODE
Broly 10----------CLICK TO GET THE CODE
Broly 11----------CLICK TO GET THE CODE
Broly 12----------CLICK TO GET THE CODE
Broly 13----------CLICK TO GET THE CODE
Broly 14----------CLICK TO GET THE CODE
Broly 15----------CLICK TO GET THE CODE
Broly 16----------CLICK TO GET THE CODE NEW!

Goten 1----------CLICK TO GET THE CODE
Goten 2----------CLICK TO GET THE CODE
Goten 3----------CLICK TO GET THE CODE
Goten 4----------CLICK TO GET THE CODE
Goten 5----------CLICK TO GET THE CODE
Goten 6----------CLICK TO GET THE CODE
Goten 7----------CLICK TO GET THE CODE
Goten 8----------CLICK TO GET THE CODE
Goten 9----------CLICK TO GET THE CODE NEW!

Bardock 1----------CLICK TO GET THE CODE
Bardock 2----------CLICK TO GET THE CODE
Bardock 3----------CLICK TO GET THE CODE NEW!

Turles 1----------CLICK TO GET THE CODE
Turles 2----------CLICK TO GET THE CODE

Radditz 1----------CLICK TO GET THE CODE
Radditz 2----------CLICK TO GET THE CODE
Radditz 3----------CLICK TO GET THE CODE NEW!


Nappa 1----------CLICK TO GET THE CODE
Nappa 2----------CLICK TO GET THE CODE
Nappa 3----------CLICK TO GET THE CODE NEW!

Gogeta 1----------CLICK TO GET THE CODE
Gogeta 2----------CLICK TO GET THE CODE
Gogeta 3----------CLICK TO GET THE CODE
Gogeta 4----------CLICK TO GET THE CODE
Gogeta 5----------CLICK TO GET THE CODE
Gogeta 6----------CLICK TO GET THE CODE
Gogeta 7----------CLICK TO GET THE CODE

Gotenks 1----------CLICK TO GET THE CODE
Gotenks 2----------CLICK TO GET THE CODE
Gotenks 3----------CLICK TO GET THE CODE
Gotenks 4----------CLICK TO GET THE CODE
Gotenks 5----------CLICK TO GET THE CODE
Gotenks 6----------CLICK TO GET THE CODE

Vegito 1----------CLICK TO GET THE CODE
Vegito 2----------CLICK TO GET THE CODE
Vegito 3----------CLICK TO GET THE CODE
Vegito 4----------CLICK TO GET THE CODE
Vegito 5----------CLICK TO GET THE CODE
Vegito 6----------CLICK TO GET THE CODE

Android18 5----------CLICK TO GET THE CODE NEW!


Yamcha 1----------CLICK TO GET THE CODE
Yamcha 2----------CLICK TO GET THE CODE

Android13 1----------CLICK TO GET THE CODE
Android13 2----------CLICK TO GET THE CODE

Android17 1----------CLICK TO GET THE CODE
Android17 2----------CLICK TO GET THE CODE
Android17 3----------CLICK TO GET THE CODE NEW!
Super Android17 1----------CLICK TO GET THE CODE
Super Android17 2----------CLICK TO GET THE CODE

Android19 1----------CLICK TO GET THE CODE

Baby 1----------CLICK TO GET THE CODE
Baby 2----------CLICK TO GET THE CODE

Bojack 1----------CLICK TO GET THE CODE
Bojack 2----------CLICK TO GET THE CODE

Cell 1----------CLICK TO GET THE CODE
Cell 2----------CLICK TO GET THE CODE
Cell 3----------CLICK TO GET THE CODE
Cell 4----------CLICK TO GET THE CODE
Cell 5----------CLICK TO GET THE CODE
Cell 6----------CLICK TO GET THE CODE NEW!

Cell Jr 1----------CLICK TO GET THE CODE

Cooler 1----------CLICK TO GET THE CODE
Cooler 2----------CLICK TO GET THE CODE
Cooler 3----------CLICK TO GET THE CODE
Cooler 4----------CLICK TO GET THE CODE

Cui 1----------CLICK TO GET THE CODE

Frieza 1----------CLICK TO GET THE CODE
Frieza 2----------CLICK TO GET THE CODE
Frieza 3----------CLICK TO GET THE CODE
Frieza 4----------CLICK TO GET THE CODE
Frieza 5----------CLICK TO GET THE CODE
Frieza 6----------CLICK TO GET THE CODE
Frieza 7----------CLICK TO GET THE CODE
Frieza 8----------CLICK TO GET THE CODE
Frieza 9----------CLICK TO GET THE CODE
Frieza 10----------CLICK TO GET THE CODE

Garlic Jr 1----------CLICK TO GET THE CODE
Garlic Jr 2----------CLICK TO GET THE CODE
Garlic Jr 3----------CLICK TO GET THE CODE

Janemba 1----------CLICK TO GET THE CODE
Janemba 2 ----------CLICK TO GET THE CODE
Janemba 3 ----------CLICK TO GET THE CODE

Fat Buu 1----------CLICK TO GET THE CODE
Kid Buu 1----------CLICK TO GET THE CODE
Kid Buu 2----------CLICK TO GET THE CODE
Kid Buu 3----------CLICK TO GET THE CODE
Super Buu 1----------CLICK TO GET THE CODE

Dabura 1----------CLICK TO GET THE CODE
Dabura 2----------CLICK TO GET THE CODE NEW!

Lord Slug 1----------CLICK TO GET THE CODE
Lord Slug 2----------CLICK TO GET THE CODE
Lord Slug 3----------CLICK TO GET THE CODE NEW!

Sauzer 1----------CLICK TO GET THE CODE

Omega Shenron 1----------CLICK TO GET THE CODE
Omega Shenron 2----------CLICK TO GET THE CODE

Ginyu Force 1----------CLICK TO GET THE CODE
Ginyu Force 2----------CLICK TO GET THE CODE

Captain Ginyu 1----------CLICK TO GET THE CODE NEW!

Saibaman 1----------CLICK TO GET THE CODE

Zangya 1----------CLICK TO GET THE CODE

Zarbon 1----------CLICK TO GET THE CODE NEW!

Jeice 1----------CLICK TO GET THE CODE NEW!


Multi 5----------CLICK TO GET THE CODE
Multi 6----------CLICK TO GET THE CODE
Multi 7----------CLICK TO GET THE CODE
Multi 8----------CLICK TO GET THE CODE
Multi 9----------CLICK TO GET THE CODE
Multi 10----------CLICK TO GET THE CODE
Multi 11----------CLICK TO GET THE CODE
Multi 12----------CLICK TO GET THE CODE
Multi 13----------CLICK TO GET THE CODE
Multi 14----------CLICK TO GET THE CODE
Multi 15----------CLICK TO GET THE CODE
Multi 16----------CLICK TO GET THE CODE
Multi 17----------CLICK TO GET THE CODE
Multi 18----------CLICK TO GET THE CODE
Multi 19----------CLICK TO GET THE CODE
Multi 20----------CLICK TO GET THE CODE

Vegetrunks 1----------CLICK TO GET THE CODE
Buuza 1----------CLICK TO GET THE CODE


Shenron 1----------CLICK TO GET THE CODE
Shenron 2----------CLICK TO GET THE CODE
Female Saiyan 1----------CLICK TO GET THE CODE
Female Saiyan 2----------CLICK TO GET THE CODE
Grandpa Gohan 1----------CLICK TO GET THE CODE

DBZ Christmas 1----------CLICK TO GET THE CODE
DBZ Christmas 2----------CLICK TO GET THE CODE
DBZ Christmas 3----------CLICK TO GET THE CODE
DBZ Christmas 4----------CLICK TO GET THE CODE
DBZ Christmas 5----------CLICK TO GET THE CODE

Dragonball Movie 1----------CLICK TO GET THE CODE NEW!


IF YOU WANT TO SUPPORT MY SITE BY ADDING A BANNER TO YOUR PAGE THEN COPY THE FOLLOWING CODE AND PUT IT ON YOUR PAGE. THANKS!