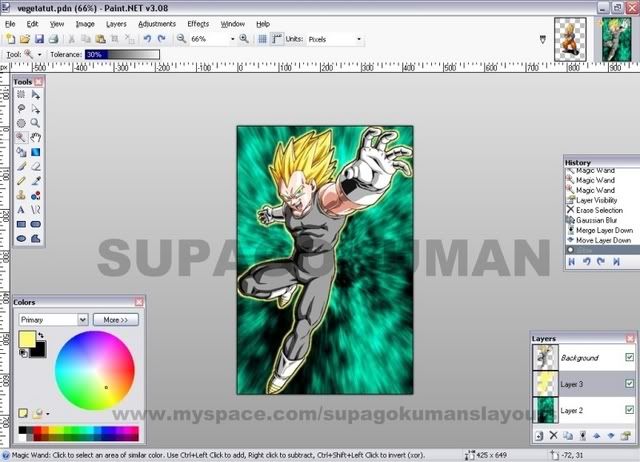
This is a continuation of my adding a background tutorial. As you can see in the images, I am starting out with 2 layers. One is the background the other is a character pic that has no background.
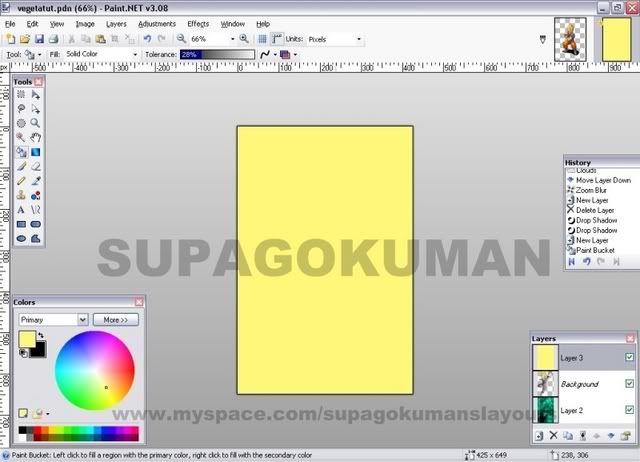
1. In your layer box, hit new layer and fill the new layer with the color you want your outline to be with the paint bucket tool. This is especially good to use if you have a pic that hasn't been cut out well. If you pick the right color you can hide a few flaws with an outline. I'm going to use yellow for this pic.
EXAMPLE
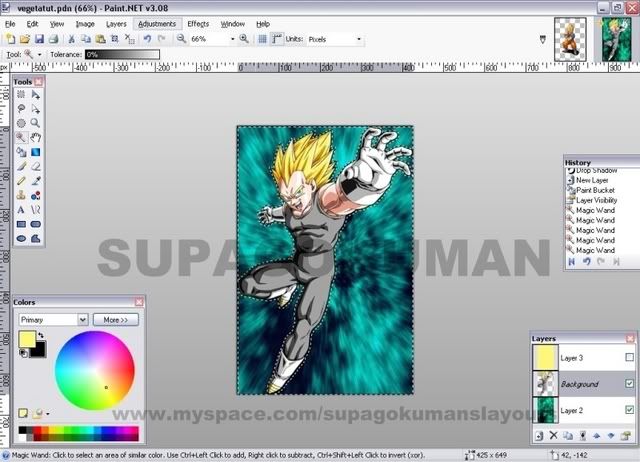
2. Now switch to your pic image layer and use you magic wand to highlight the layer around it.
EXAMPLE
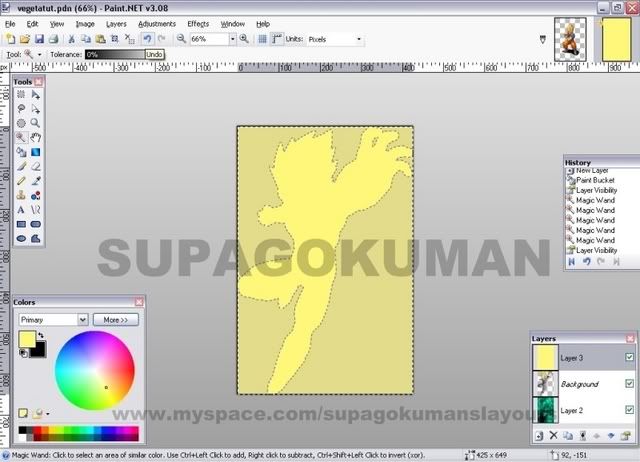
3. Now that you have the outline of your image, click on your color layer in the layer box and hit delete on your keyboard. This will give you a colored outline of your character.
EXAMPLE
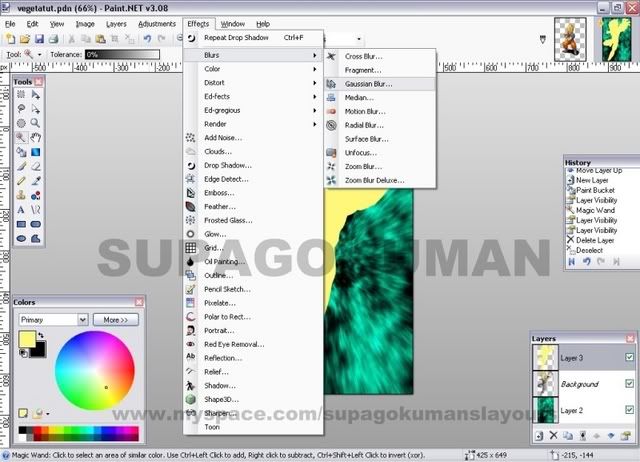
4. On the colored outline layer go up to effect then to blurs and pick gaussian blur and use it at 5 or 10 or somewhere in between.
EXAMPLE
5. Now move you charcter layer on top of your outline layer.
6. Click your outline layer in your layers box. Now click copy layer until the outline is the desired thickness.
EXAMPLE
7. Flatten the image.
NOTES: There is a plug-in that outlines objects and text. I like my method better. But if you want it, get it HERE.
Search

Custom Search
About Me
- SUPAGOKUMAN
- Hobbies are watching anime, playing video games and making myspace graphics.