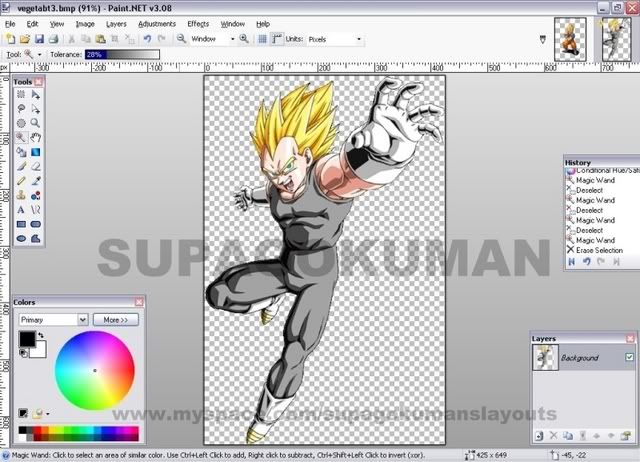
In this example I use a pic with a solid color background so it will be easy to see what to do.
1. First I just used the magic wand to highlight the area around the character.
EXAMPLE
2. Then I hit delete on my keyboard.
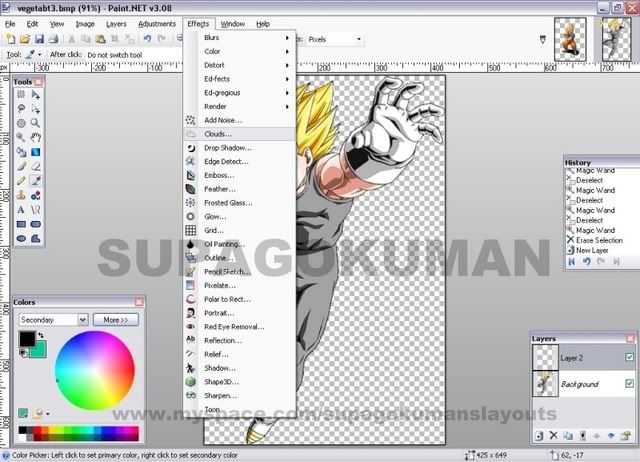
3. Now to add a background, click the add a new layer button in the layer box. Then I highlighted the new layer and went up to effects and picked clouds. The clouds effect will make a cloudy type effect with whatever 2 colors are picked in your color box.
EXAMPLE
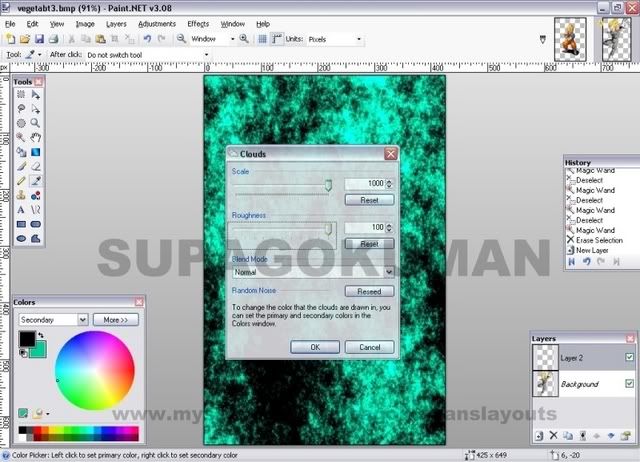
4. Now slide the slider bars all the way to the right creating a cool rough surface kind of effect.
EXAMPLE
5. Now use the zoom blur effect.
6. Flatten the image.
NOTES: You can put any background you want behind a character. You don't have to use the cloud effect. There are alot of different renders and things you can put on the layer underneath you character. Also try using different effects on the cloud layer for some different stuff. I like using the film effect on the cloud layer.
Also, you can go up to layers on your toolbar, then down to import from file and upload any pic you have saved on your computer as a background. That's how I get backgrounds of planets and stuff in my pics.
If you have a pic that already has a background, but you want to cut out the character and put it on a different background, try THIS tutorial.
